Create a new project
To create a new project select:
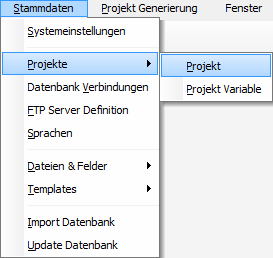
Select "Project" in the menu
From the Project menu, select:
![]()
Select "New" to create a new project
Select "New" in the table, you can now create a new project:
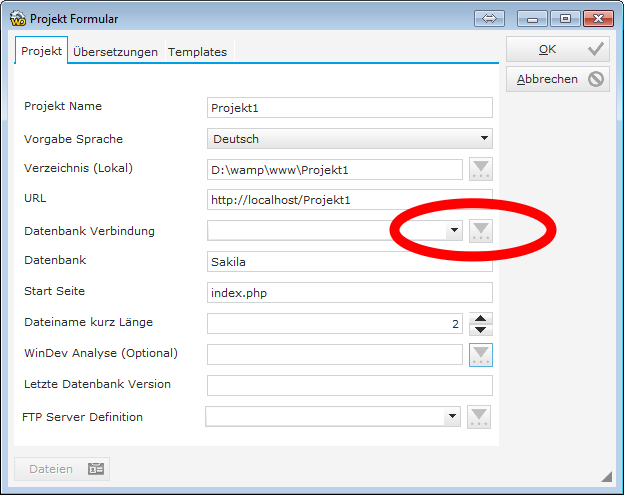
Create a new project
You can create the database connection in the same window:
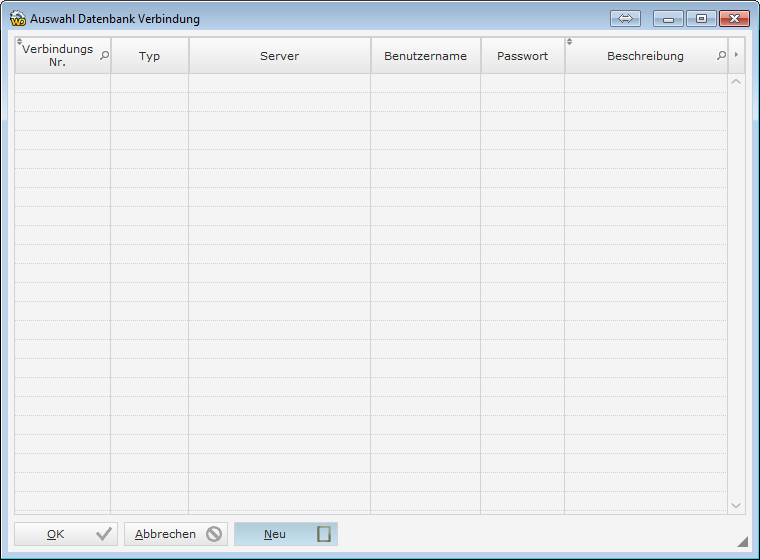
The database connection table
Select "New" to create a new database connection:
![]()
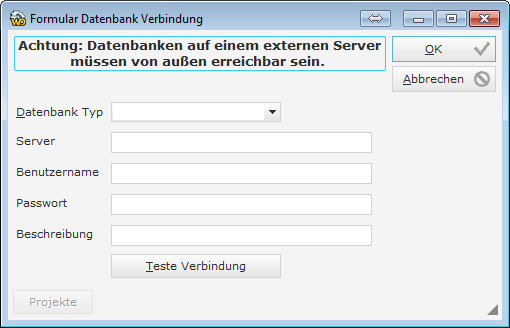
Create a new database connection
Now enter the database connection and press "OK"
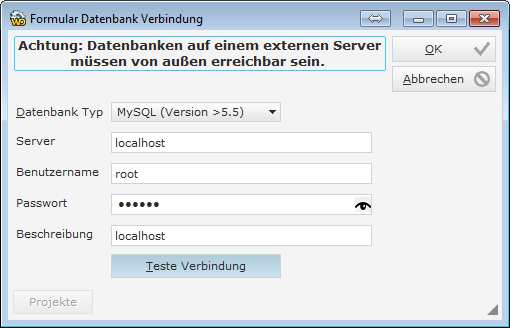
Test the connection to the database with:
![]()
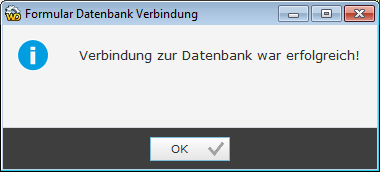
You can use this database connection now!
The database connection was successful!
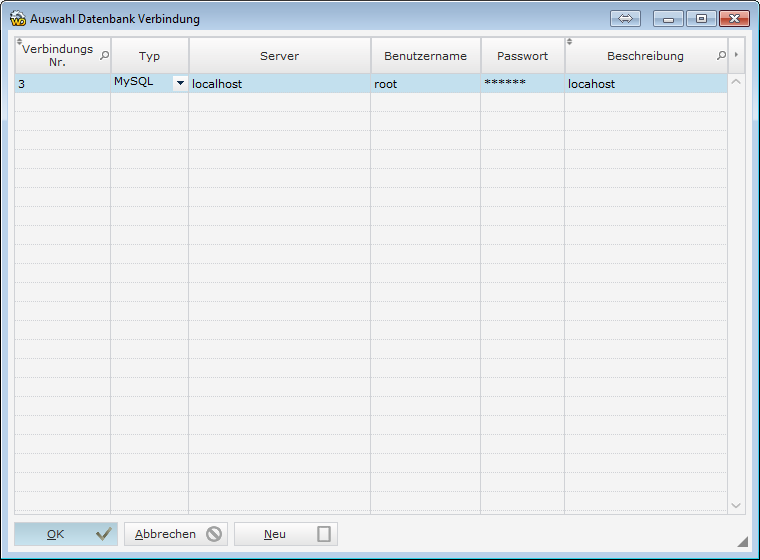
A database connection in the table
![]()
Select OK to accept the currently created database connection!
To use the newly created database connection, press "OK" and the database connection can now be used in the project!
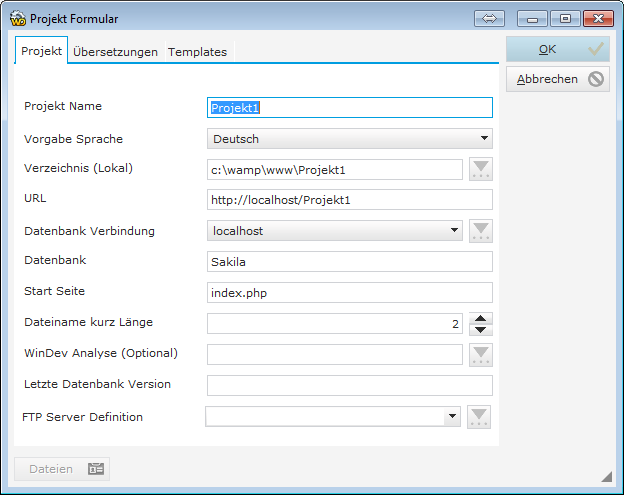
Select OK to save the project!
To save the project, press ![]()
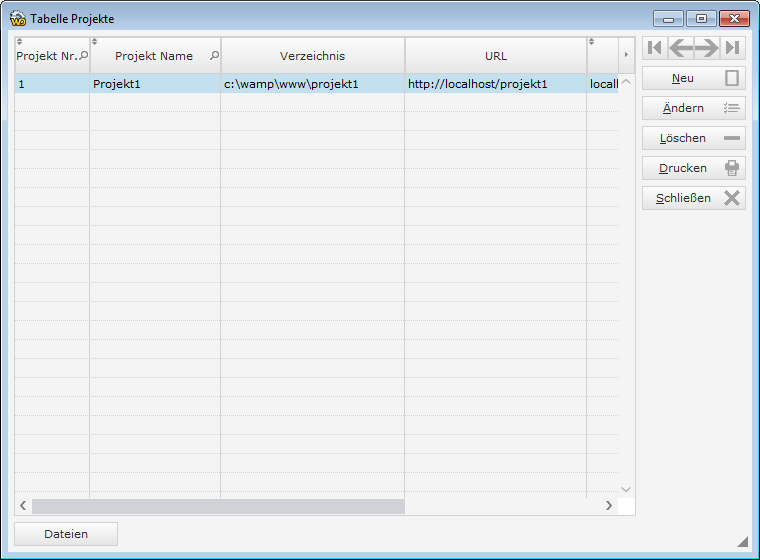
The finished project in the table
You have now created the project, you already suspect, you have to do more to run the project? A clear YES from my side!
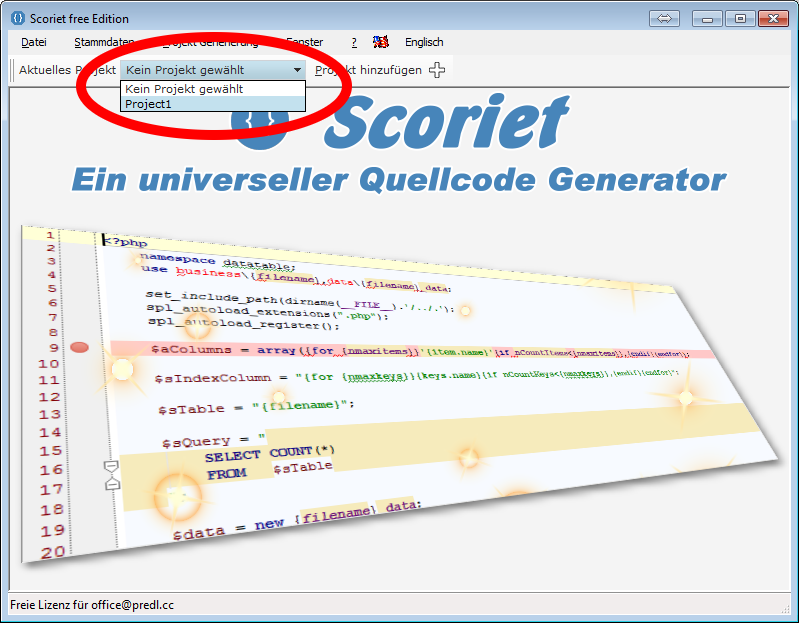
Select the project
First, select the project you just created!
You still need the data tables and the templates, of course the template variables.
First we take care of the template (s):
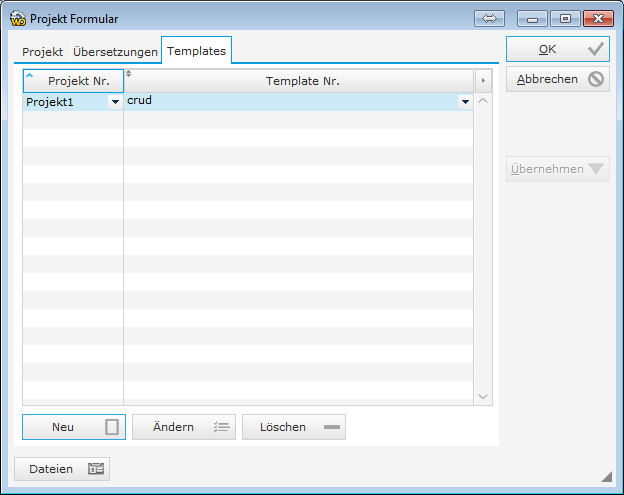
Change the existing project and go to the tab "Templates":
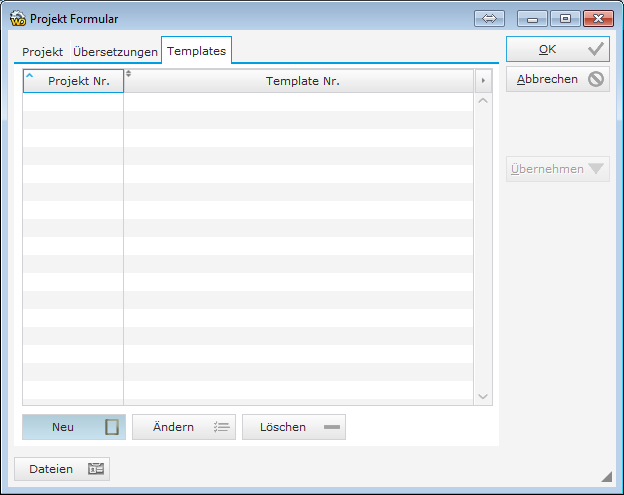
Press "NEW" to assign a template to the project
To use a template in this project, please press ![]()
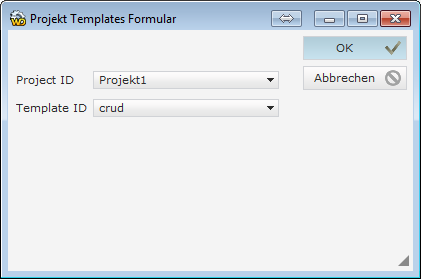
Select a template for this project
To use a template in this project, enter the project at the top and select a template at Template ID. In the original version of Scoriet, only the "crud" template is available!
As you can see, you can use multiple templates in a project, you can create a CRUD template with a login template, e.g. mix if the two are compatible.
Of course you could also decompose the CRUD template so that you would have a table, change window, etc. each in its own template.
Please do not try to mix a C ++ template with a PHP template, this can not be good, but technically possible!
After adding a new template to the project, we need to update the project:
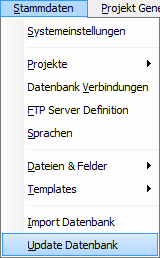
Update Database / Project Update
Now all templates are filled in for the project and the template variables are also inserted into the project.
You must also do this after each database change.
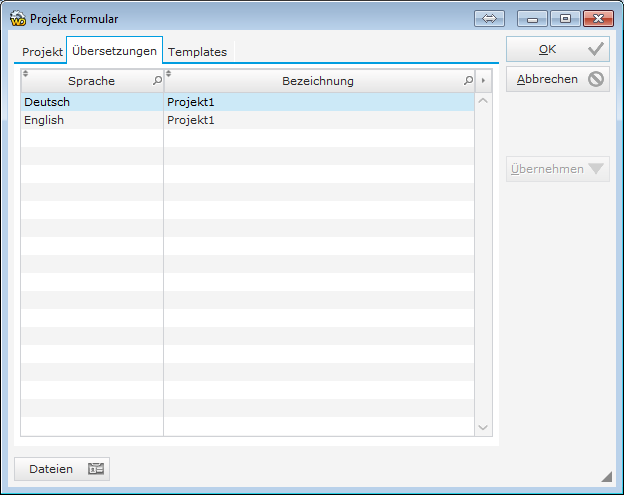
The translations for this project
You can now do the translations for this project for each language.
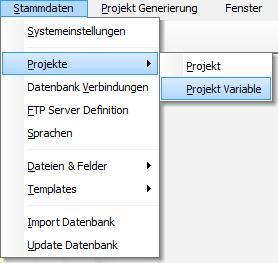
Enter project variables
Each template can contain any number of fixed-value variables. You can now do this for the CRUD template:
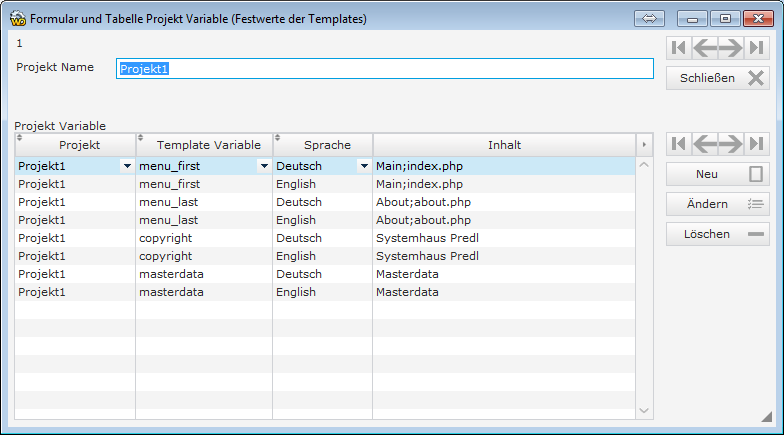
The project / template variables
The CRUD template is very simple. the values menu_first and menu_last are for the bootstrap menu, the menu entries should be in front of the list of data tables and what afterwards. The entries are separated with, and each entry contains the name; and the .php file.
So if you want to use 2 entries, then menu_first in Content Home; index.php, About; about.php
copyright is the ad in the footer of the template. Enter here, for example Your company name or your name.
masterdata is the name of the master data, you can change the word "Masterdata" to "master data" directly in the table for masterdata and Deutsch in the table.
Please note, any new template that you import may require additional fixed variable, be sure to check the page with the
Now you can import the database:
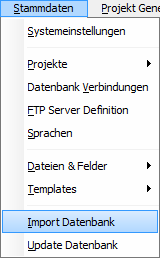
Import of the database
Now that you have met all the necessary requirements, you can now import the database:

Import a database
Select the connection to the database, then select the database
You can also deselect the tables you do not need for the import.
Press ![]() to start the import.
to start the import.
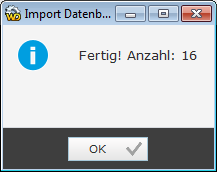
Import completed
The database import is now ready. The number indicates how many database tables have been imported.
After you have changed the database, you must synchronize the database tables and the template. Choose again:
Start database update after importing the database
You can now generate your project and your application will be created from the tables, fields and links.
Now all functions related to the project are unlocked, you can now view all tables, fields and so on.