Create a new project using the wizard
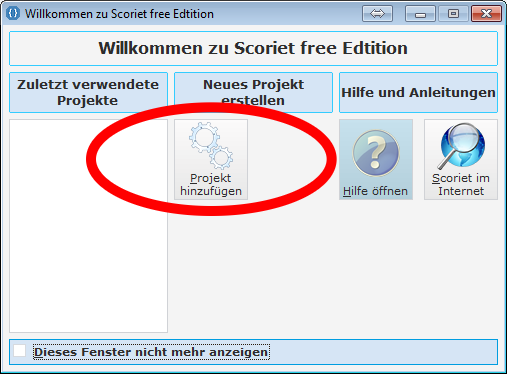
New project via the welcome screen
Create a new project using the welcome screen by clicking "Add Project" on the welcome screen.
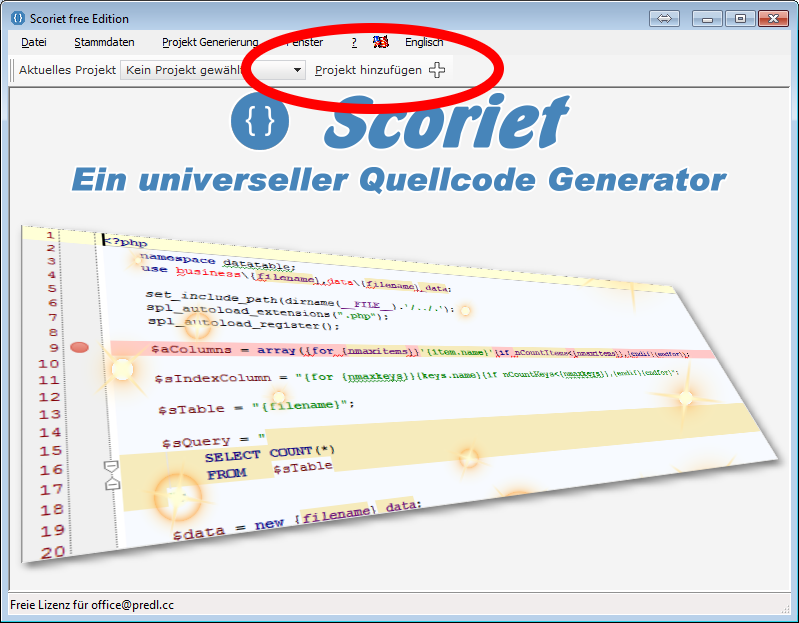
Add project via the main menu
To add a new project, you can also choose "Add project" in the main menu
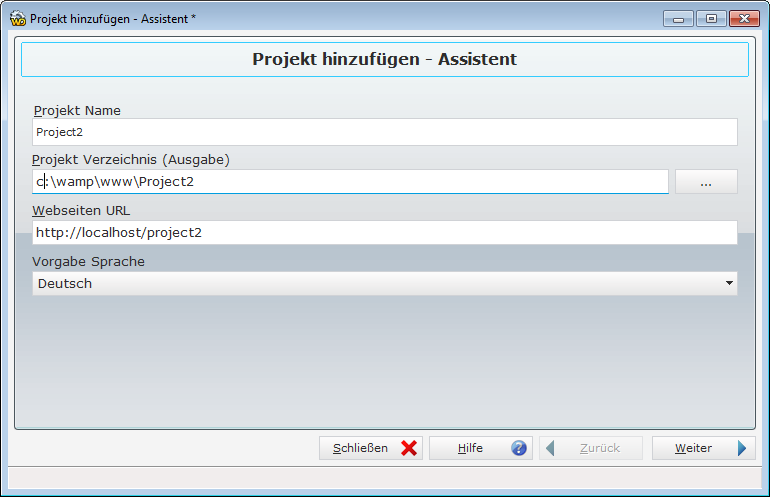
The Project Wizard
Enter the desired project name under Project Name.
You may not enter duplicate project names in Scoriet. You are advised.
Project Output, enter here the directory in which Scoriet should generate the files.
Website URL so that Scoriet can open your website after generation. You may enter any address that could also work in Explorer. e.g. http://localhost/project1 or http://192.168.1.10/project1 or even with Laravel projects: project1
Language: Specify the default language of your application.
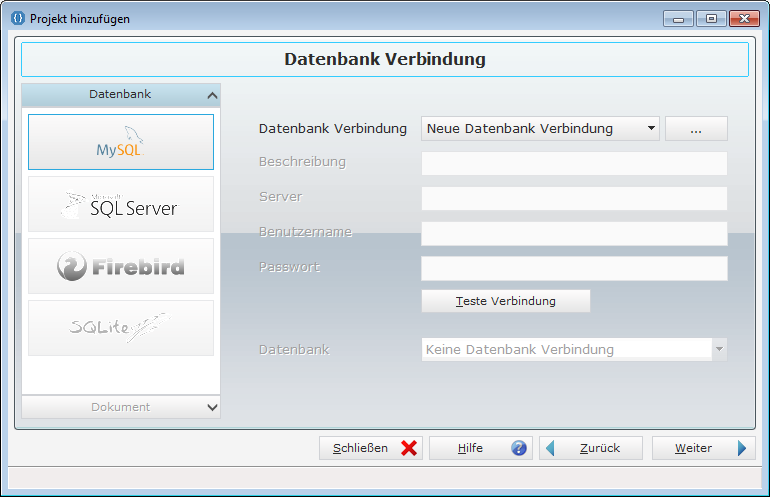
New database connection
To establish a database connection, select a provider. Scoriet Free Edition can only be used with MySQL databases.
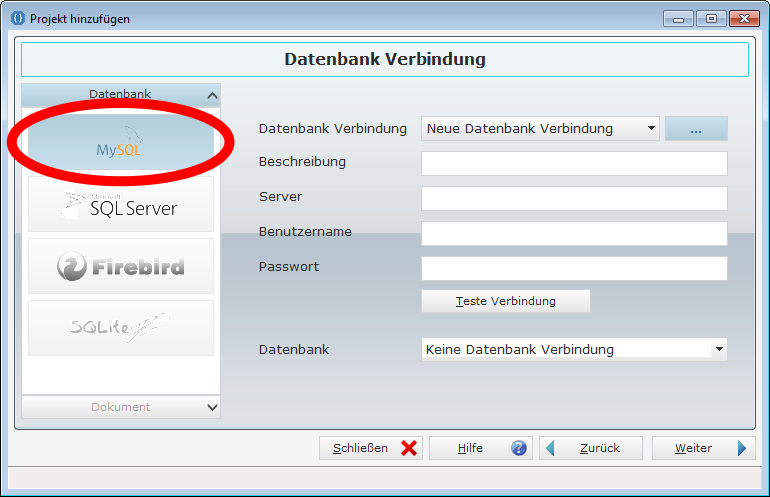
MySQL database connection
Select MySQL and you can fill in the database fields. If you have already created a database connection, you can continue to use it!
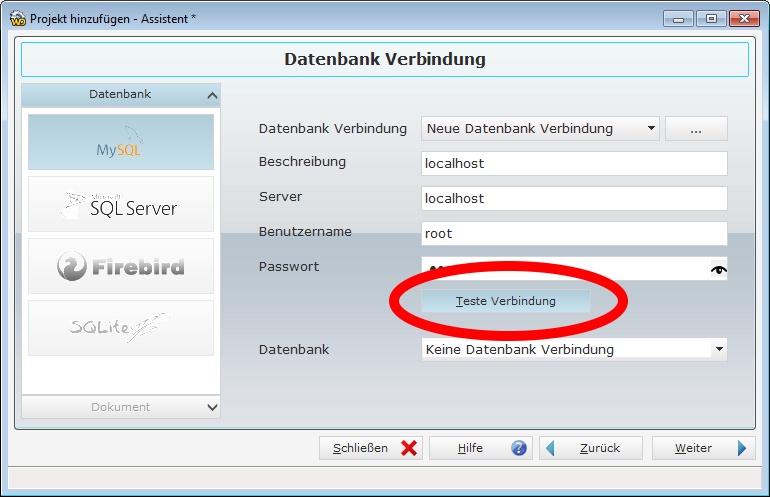
After completing the input, test the connection to the database:
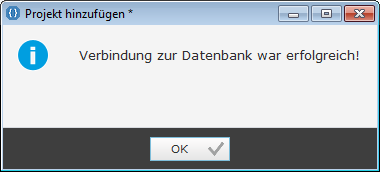
Successful database connection
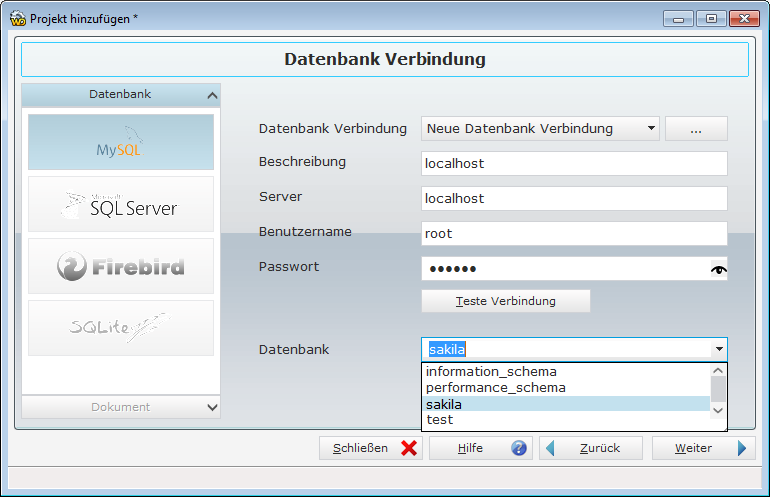
Test database of MySQL
If you do not have a test database available for testing, you can download a test database from MySQL:
http://dev.mysql.com/doc/sakila/en/sakila-installation.html The installation instructions or:
http://dev.mysql.com/doc/index-other.html the link to download.
The Sakila database with a pure structure (.sql) and you can also fill it with test data. For this tutorial we have filled the test database with the test data!
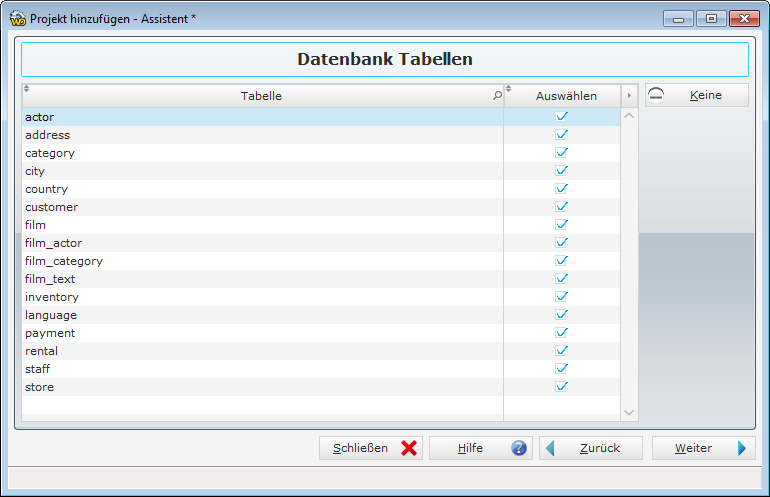
All tables in the selected database are displayed.
You can now select / deselect the desired tables, then go to the next screen with "Next"
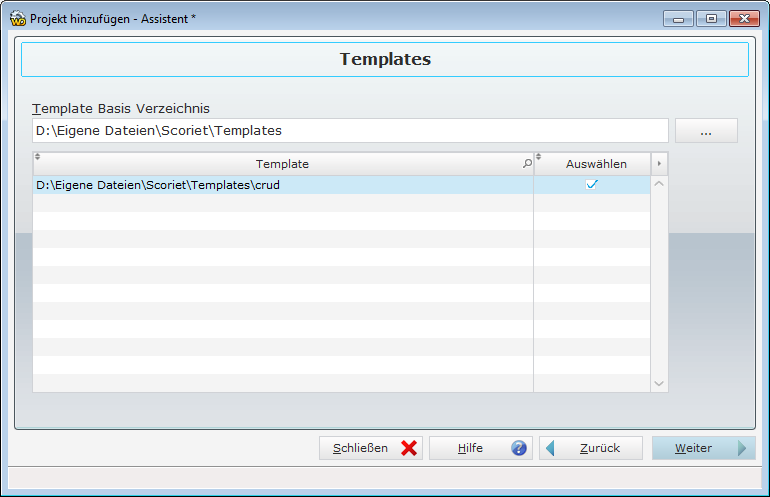
Select one or more templates
You can now select one template or several templates, keep in mind that not all templates work together and could even cause serious errors or even a malfunctioning application.
Take only templates that are in the same version, e.g. CRUD V2 and CRUD LOGIN PLUGIN V2 that fit together.
For example, mixing a C ++ template with a PHP template is not good and certainly
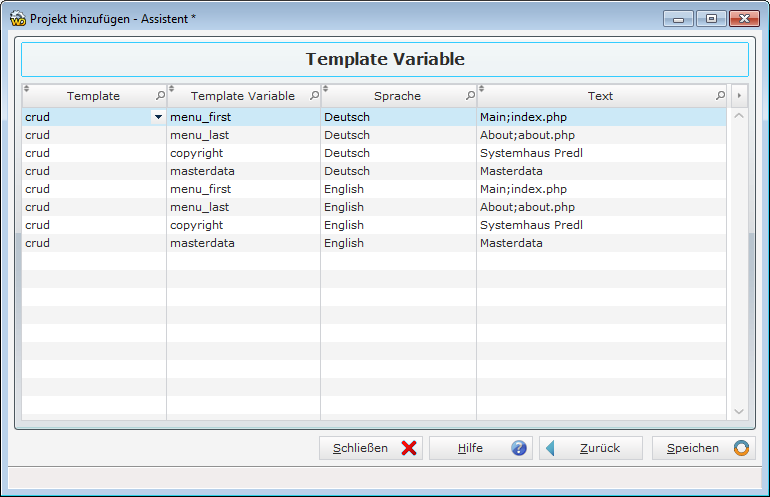
Enter the fixed values (variables) for each template
Each template can demand fixed values. Enter a value for each variable. Scoriet gives you values that you can confirm or change.
Press "Save", then the project will be created for you and all tables will be read from the database.
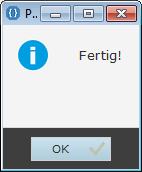
Ready!
If no errors have occurred, you will receive a confirmation.
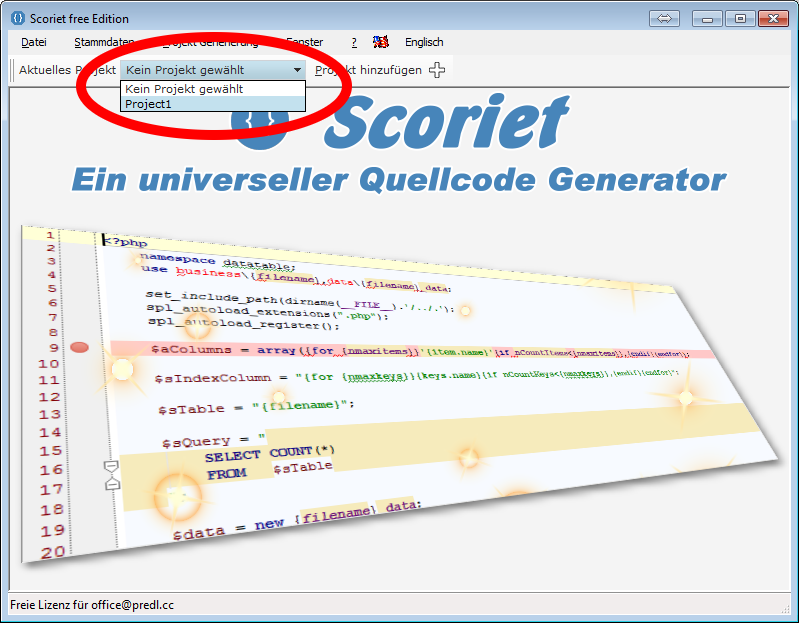
Select the project
Now select the project you just created!
You can now generate your project and your application will be created from the tables, fields and links.
Now all functions related to the project are unlocked, you can now view all tables, fields and so on.